
If your team is already using Claude, this is where you set it up right.
If you’re starting from scratch, this walks you through everything in order so you don’t miss a step.
You don’t need technical experience. You need about an hour, a clear picture of how your team communicates, and the right order of operations.
First: understand what you’re setting up.
Claude for Teams isn’t a single tool. It’s three modes running on the same AI model under the same subscription.
- Chat — the conversational interface. Works in your browser, desktop app, and mobile. Supports connected apps, file creation, and shared Projects.
- Cowork — the desktop agent. Reads and writes files directly on a user’s computer. Supports scheduled, recurring tasks. Desktop app only.
- Claude Code — the terminal-based coding agent. For developers only. If your team isn’t writing code, you won’t need this.
The important thing to know upfront: your admin configuration — the instructions, skills, and shared projects you set up — applies across all three modes. You configure it once, and it works everywhere.
How Claude actually learns about your business.
Claude has no memory of your company by default. You have to build that context deliberately.
There are four layers:
> Layer 1 — Organization Instructions. Set once by the admin. Applies automatically to every conversation, for every team member, across Chat, Cowork, and Claude Code. This is the most important layer. We set this up in Step 1.
> Layer 2 — Skills. Admin-provisioned. A skill is a reusable set of instructions for a specific, repeatable process. Skills auto-trigger when the task matches. When you update a skill, everyone gets the update immediately. We set these up in Step 3.
> Layer 3 — Shared Chat Projects. Admin-created. (Individuals can also create their own Projects, but those aren’t shared by default.) Cloud-based workspaces with a knowledge base and custom instructions your whole team can access. Always current. We set these up in Step 4.
> Layer 4 — Personal Instructions. User-controlled. Each person sets their own role, working style, and preferences. These add personal context on top of everything above — but they can never override organization instructions.
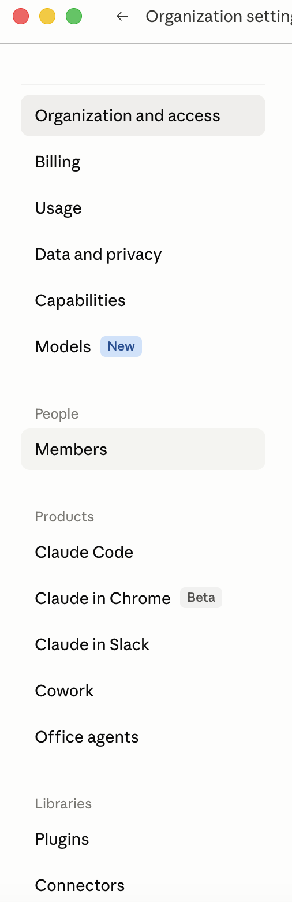
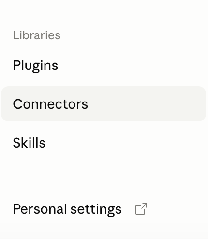
The admin setup checklist.
Complete these six steps in order before you roll out to your team.
Step 1 — Write your organization instructions.
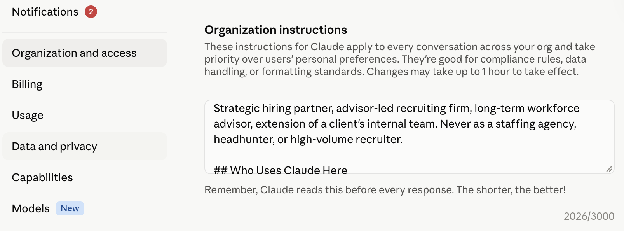
Go to: Organization Settings > Organization and Access > Organization Instructions
This is the shared baseline that sits above every conversation your team has with Claude. Write it like a briefing you’d give a new team member on day one: what your company does, who you serve, how you communicate, and what Claude should never do or assume.
You have 3,000 characters — roughly 400 to 500 words. Use them for context, not commands.
What to include:
- Your company name and what you do
- Your tone and communication standards
- Any referral rules (“direct HR questions to…”)
- Non-negotiables around client confidentiality or brand language
One important note: Organization instructions take precedence over personal instructions. If your org instructions say formal English and a team member sets a casual tone in their personal settings, Claude responds formally.
Changes can take up to an hour to propagate across the workspace.
Let Claude write this for you.
Use a talk-to-text tool to talk this out — I use MacWhisper (Wispr Flow works on PCs). Then paste your answers into Claude with this prompt:
You have 3,000 characters. Help me write the Organization Instructions
for our Claude for Teams account. Here is the information about our company:
[Company Name] is a [what you do]. We work with [who — industry, geography, type of client].
Tone: [2–3 words or a short sentence — e.g., "Direct, advisor-led,no jargon. Write like a knowledgeable colleague, not a consultant."]
Non-negotiables:
- Never fabricate [data / credentials / outcomes / whatever applies]
- Protect confidentiality at all times
- For [HR / legal / compliance] questions, direct to [role or name], not Claude
- [One industry-specific hard limit if relevant]
One thing worth noting: the tone line does the most work here. “Professional” tells Claude almost nothing. “Plain-spoken, no buzzwords, treats the reader as experienced” gives it something to work from.
We don’t include the audience in org instructions because it’s a variable — it shifts depending on whether you’re working on internal, external, or potential client work. Claude picks that up from context in the conversation.
Step 2 — Enable skills infrastructure.
Go to: Organization Settings > Capabilities
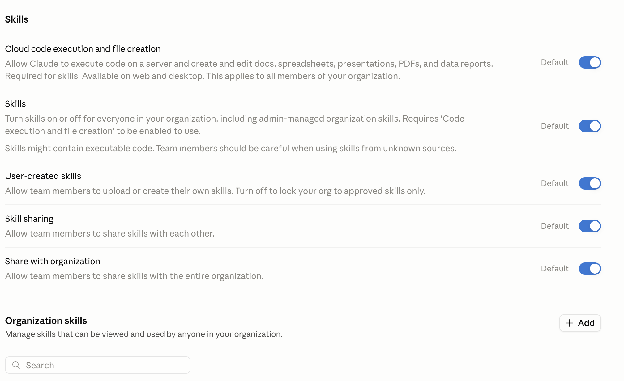
Turn on Code Execution and File Creation. This is required for skills to function. Without it, you can’t provision skills at all.
Then go to: Organization Settings > Skills
Decide whether to allow team members to share skills with each other. There are two toggles:
- Peer-to-peer sharing
- Publishing to the org-wide directory
Both are off by default. Turn them on deliberately based on how much autonomy you want your team to have.
Step 3 — Build and provision your core skills.
Skills are the most powerful and most underused feature available to Teams admins.
A skill is a reusable set of instructions that Claude loads automatically when the task context matches. Unlike project instructions, skills update centrally, work across Chat and Cowork, and are view-only for team members — they can use them but can’t edit them.
Start with your top three to five repeatable processes. Good candidates:
- Client report formats
- Brand voice standards
- Meeting notes templates
- Proposal structures
- Email conventions
For each skill: use Claude to help you write the skill file in Markdown. Include a specific description field — this is what Claude uses to decide when to auto-trigger the skill.
✅ “Use when generating a formatted client-facing report” — triggers reliably. ❌ “For reports” — too vague, won’t trigger consistently.
Upload each skill via: Organization Settings > Libraries > Skills
Set broadly useful skills to enabled by default. Set specialist skills to disabled by default.
Test each skill in both Chat and Cowork before publishing to the team.
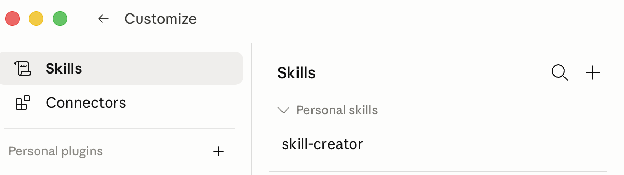
Tip: install the Skill Creator skill first.
Ask Claude in Cowork to help you:
Let's install Anthropic's skill creator skill.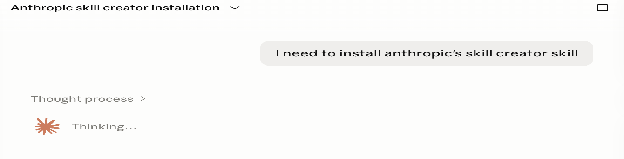
Step 4 — Create your shared Chat Projects.
Go to Claude.ai > Projects in the left sidebar. Click New Project.
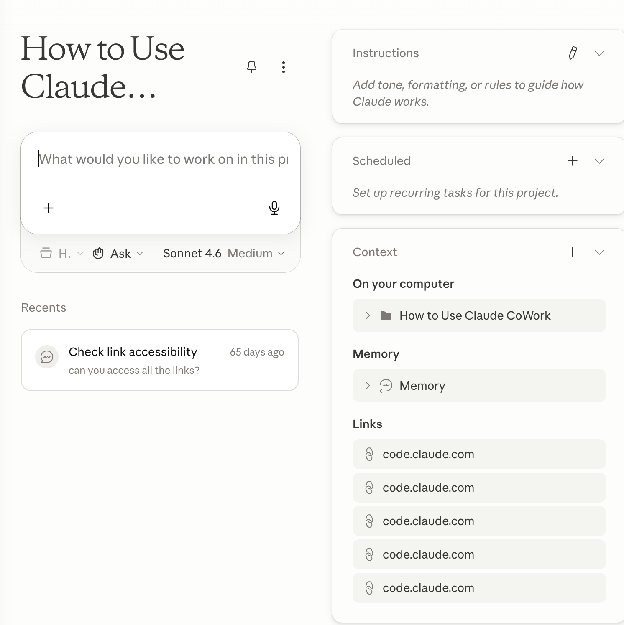
Chat Projects are cloud-based workspaces with their own knowledge base and instructions. Unlike Cowork projects, they’re shareable and always current — when you update the instructions or knowledge base, every team member sees the change the next time they open the project.
Create a separate project for each shared workflow or reference set. Good candidates:
- Brand voice
- Client reporting
- Team onboarding
The best projects have a single clear purpose. A project called “General” with twenty documents and broad instructions will underperform a focused project with sharp instructions and the right three or four reference files.
For each project:
- Write clear instructions — describe what the project is for and how Claude should behave
- Upload reference documents — brand guidelines, approved templates, product specs
- Use the Share button to share with specific people or your whole organization
- Assign Can edit only to people who should be able to update the project
Step 5 — Prepare the Cowork folder template.
Cowork projects are stored locally on each user’s machine and can’t be shared. The best team approach is to create a standard folder template everyone copies to their own computer.
Create this folder structure:
Claude Cowork/
├── Outputs/       ← where Claude saves finished work
└── Templates/     ← example documents for Claude to match in style and format
Add subfolders for individual clients or projects as needed.
Write a company-level brief template your team can use to set up their Cowork Global Instructions. Include your preferred standing rules:
- Ask clarifying questions before executing
- Show a plan before starting multi-step tasks
- Never permanently delete a file without explicit permission
- Save outputs to the Outputs folder unless specified otherwise
Distribute the folder template and brief to your team via your shared drive, email, or Slack.

Step 6 — Roll out to your team.
Run a 30-minute onboarding session — or record a quick walkthrough — that covers:
- Installing the desktop app
- Setting up their Cowork folder
- Finding the shared Chat Projects
- The one decision rule (see below)
Identify two or three people who are already comfortable with Claude who can support colleagues as questions come up.
Set a review date. Skills and project instructions should be reviewed quarterly.
The one decision rule your team needs.
Default to Chat. Switch to Cowork only if the answer is yes to one of these:
- Do I need Claude to read files already sitting on my computer?
- Does this task need to run on a schedule without me?
If neither applies, Chat handles it — and Chat uses less of your usage allocation than Cowork.
Everything else — the skills, the shared projects, the organization instructions — works in the background without your team needing to think about it. That’s the point of doing the admin setup right.
All prompts from this article and more are available at smartmarketingsquad.com/ai-prompt-hub